- Clinical Basics: Vault Admin
TMF Transfer enables Vault Admins to transfer completed TMFs from CRO Vaults into Clinical Basics: eTMF.
Pre-requisites:
- The CRO has sent you a Connection File to their Production Vault and you have it downloaded on your computer.
To perform a TMF Transfer:
-
Navigate to Clinical Admin > TMF Transfer and click TMF Transfer to Basics.

-
Once in TMF Transfer to Basics, select Connect from File from the All Actions menu.

-
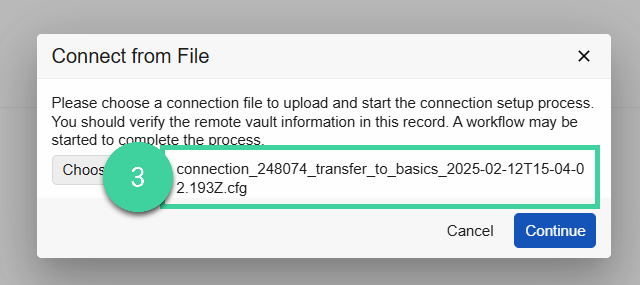
Click Choose, select the configuration file you received from your CRO, and click Continue.
-
Click Complete in the upper right.
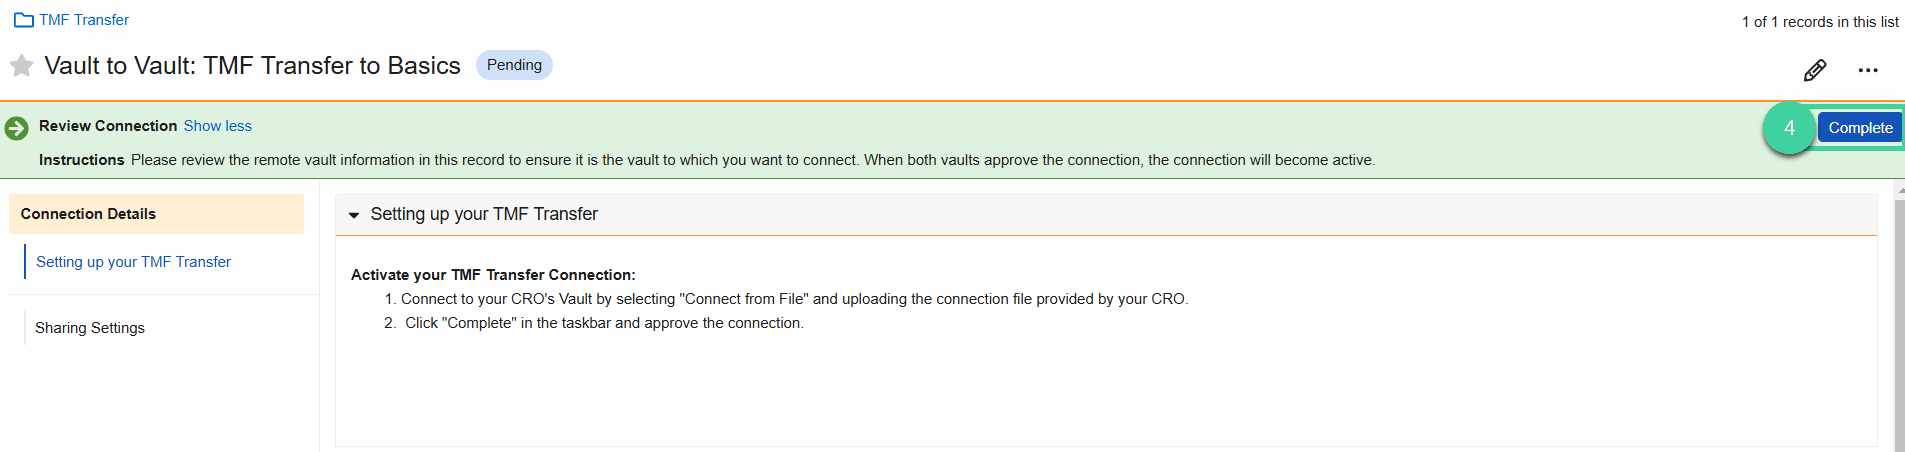
- In the popup menu, select Approve Connection, then click Complete.
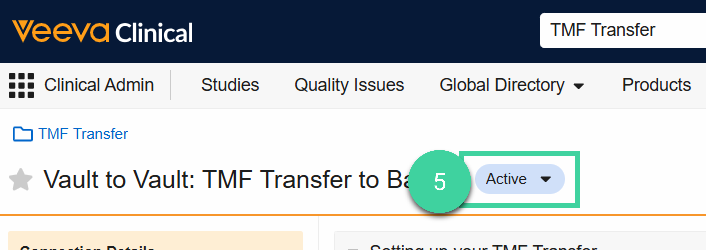
- The CRO will now have a task to approve the Connection on their end, after which the TMF Transfer status will change to Active.
-
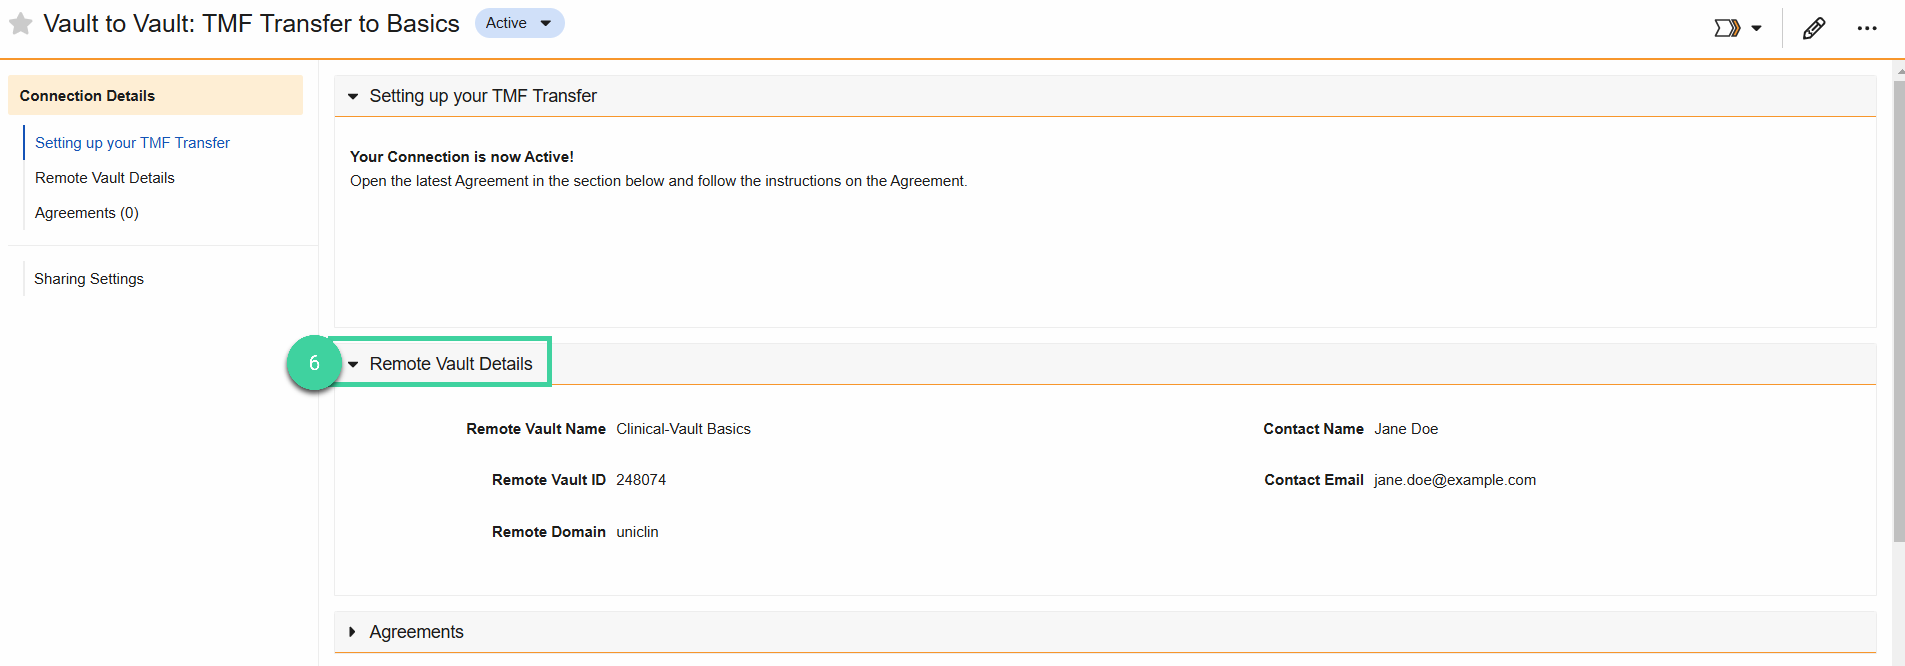
Now that the Connection is Active, open the Remote Vault Details section and review the listed details for accuracy.
-
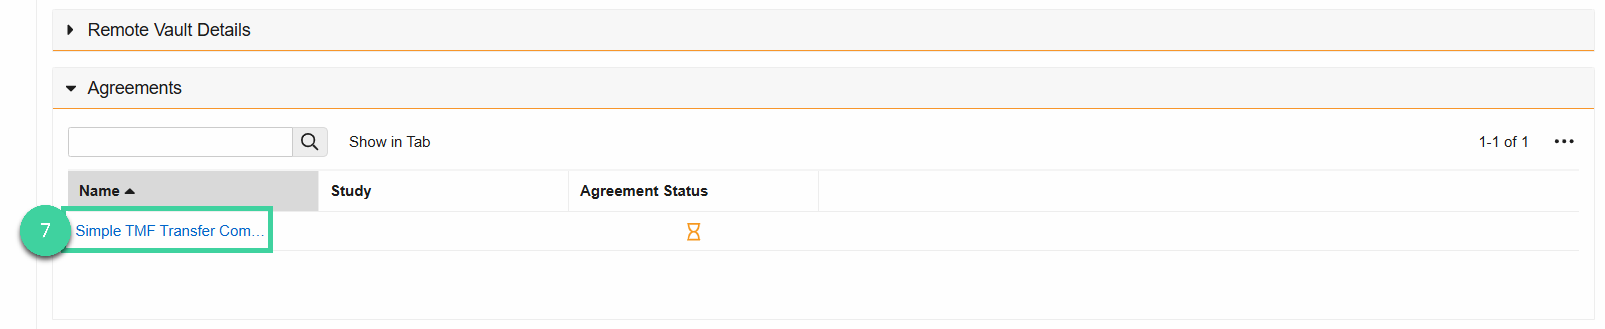
Once the Connection is Active, the CRO will send you an Agreement. Open the Agreements section, then click on the Agreement once it’s available.
-
In the Agreement, select Add Participants from the All Actions menu.
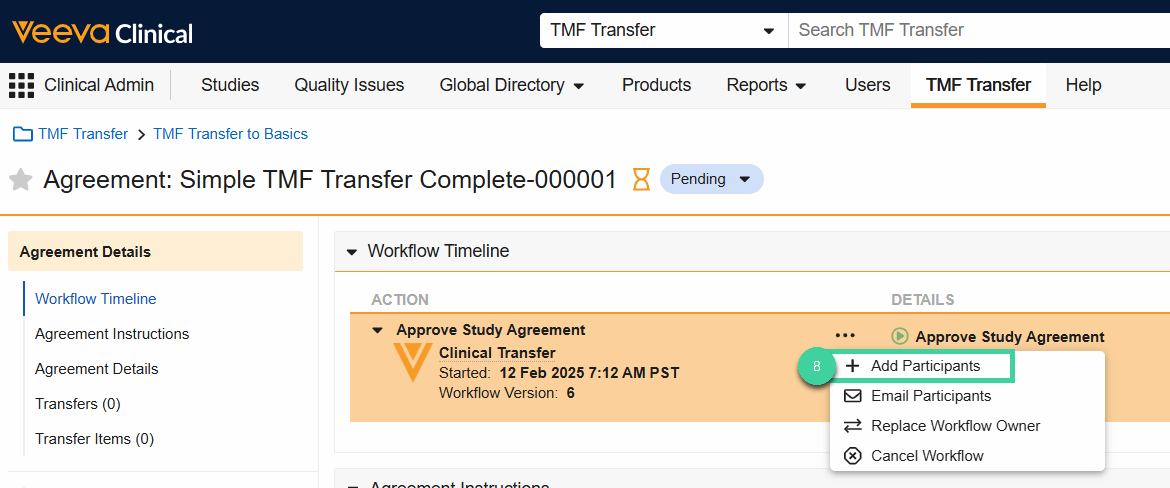
- Select yourself as the Participant, then click Submit.
-
Click Accept in the upper right to approve the Agreement. Then, click Complete.

- Review the TMF Transfer Agreement description, then click Next in the upper right.
- Select your Study, then click Complete in the upper right.
- Note: If the Study is not available, you will need to go to the Studies tab and create the correct Study record.
- If you are transferring this study directly to Archived, make sure to archive the Study before the transfer is initiated.

- Click Approve in the popup window, then Complete to finalize and set the Agreement status to Active.
- The Active status indicates the Agreement is ready to be transferred.
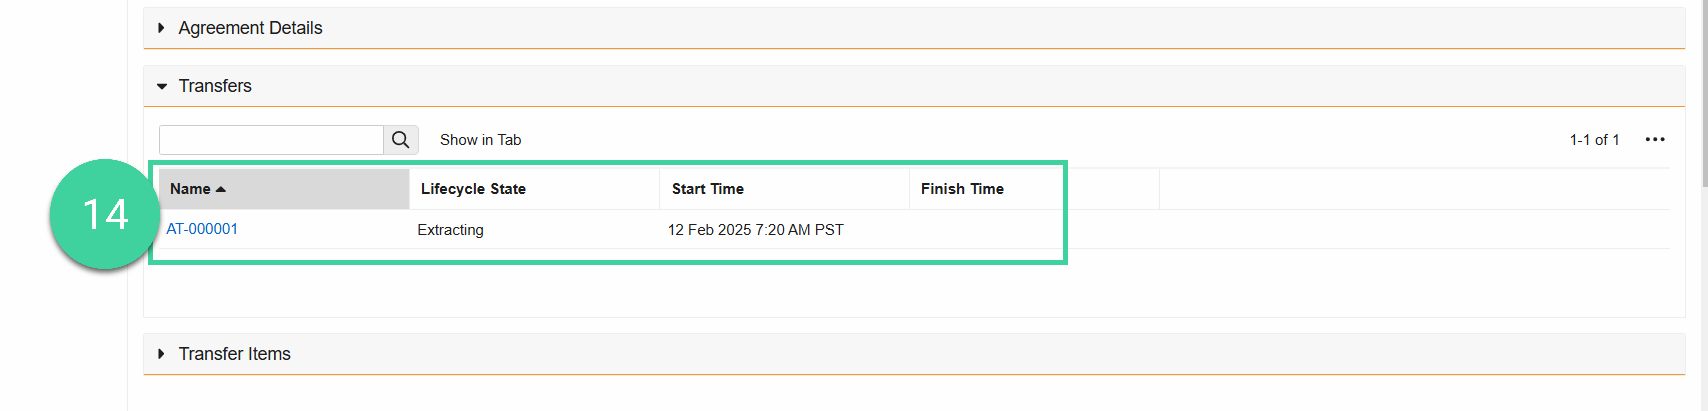
- The CRO can then initiate the transfer, and its status can be tracked in the Transfers section.
- Note: Please allow up to an hour for the transfer items to appear in your Vault.
- The status of Documents, Study Countries, and Study Sites can be tracked in the Transfer Items section.
- Documents will be batched in groups of 500.
-
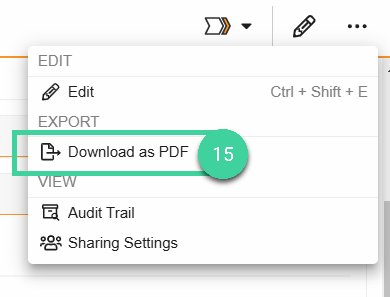
Once the Transfer is complete and its Lifecycle State is Finished, select Download as PDF from the All Actions menu to download a record of the Transfer.
- Navigate to Clinical Admin > Reports > Reports.
-
Search for and click on the Transferred Documents (Active) report.

-
Enter the Study name in the prompt, then click Continue.
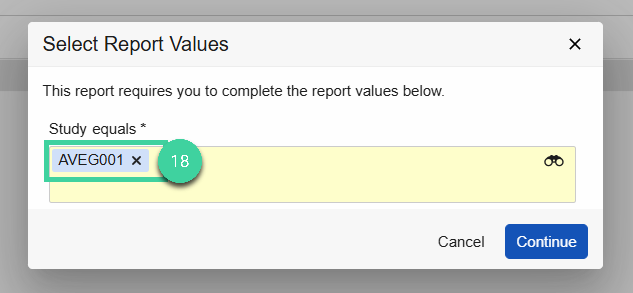
- The Transferred Documents (Active) report will then populate with the documents from the TMF Transfer.
- Use this report to ensure that the content transferred is what you expect to have received from the CRO. If there are any discrepancies, contact your CRO to correct the issue in their Production Vault.